
Overview of Trench Drain Installation Process
Now that trench drain systems have been approved for your project, we wanted to highlight key steps in the installation process so you’ll know what to expect.
Plan and Excavate
The first step in trench drain installation is assessing the planned location for the trench drain(s). Our team will review the expected load and slab thickness for each location. And we’ll ensure the trench drain system is structured to prevent build-up and that safety and sanitary standards are met.
Trenches will be excavated to allow for at least 4-inches of concrete and expansion joints around the channels. If the planned slab is thicker than 4-inches, we’ll have surrounding concrete depth match the slab thickness.
Channel Lay Out
After trenches are evacuated, we’ll lay out the channels working backward from the deepest point and making sure flow arrows point toward the outlet. Outlet ends will be opened and attached to the deep end of the channel. An end cap will be affixed to the shallow end.
Channel Assembly
Channel sections for the trench drain system will be connected using silicone sealants. Construction covers will be positioned to overlap joints, preventing misalignment.
Rebar Installation
Rebar will be installed into the anchor clips located on the sides of the channels, then driven into the ground. We’ll confirm each section of the channel is adjusted to the correct elevation, usually between 1/16 to 1/8-inch below the finished slab.
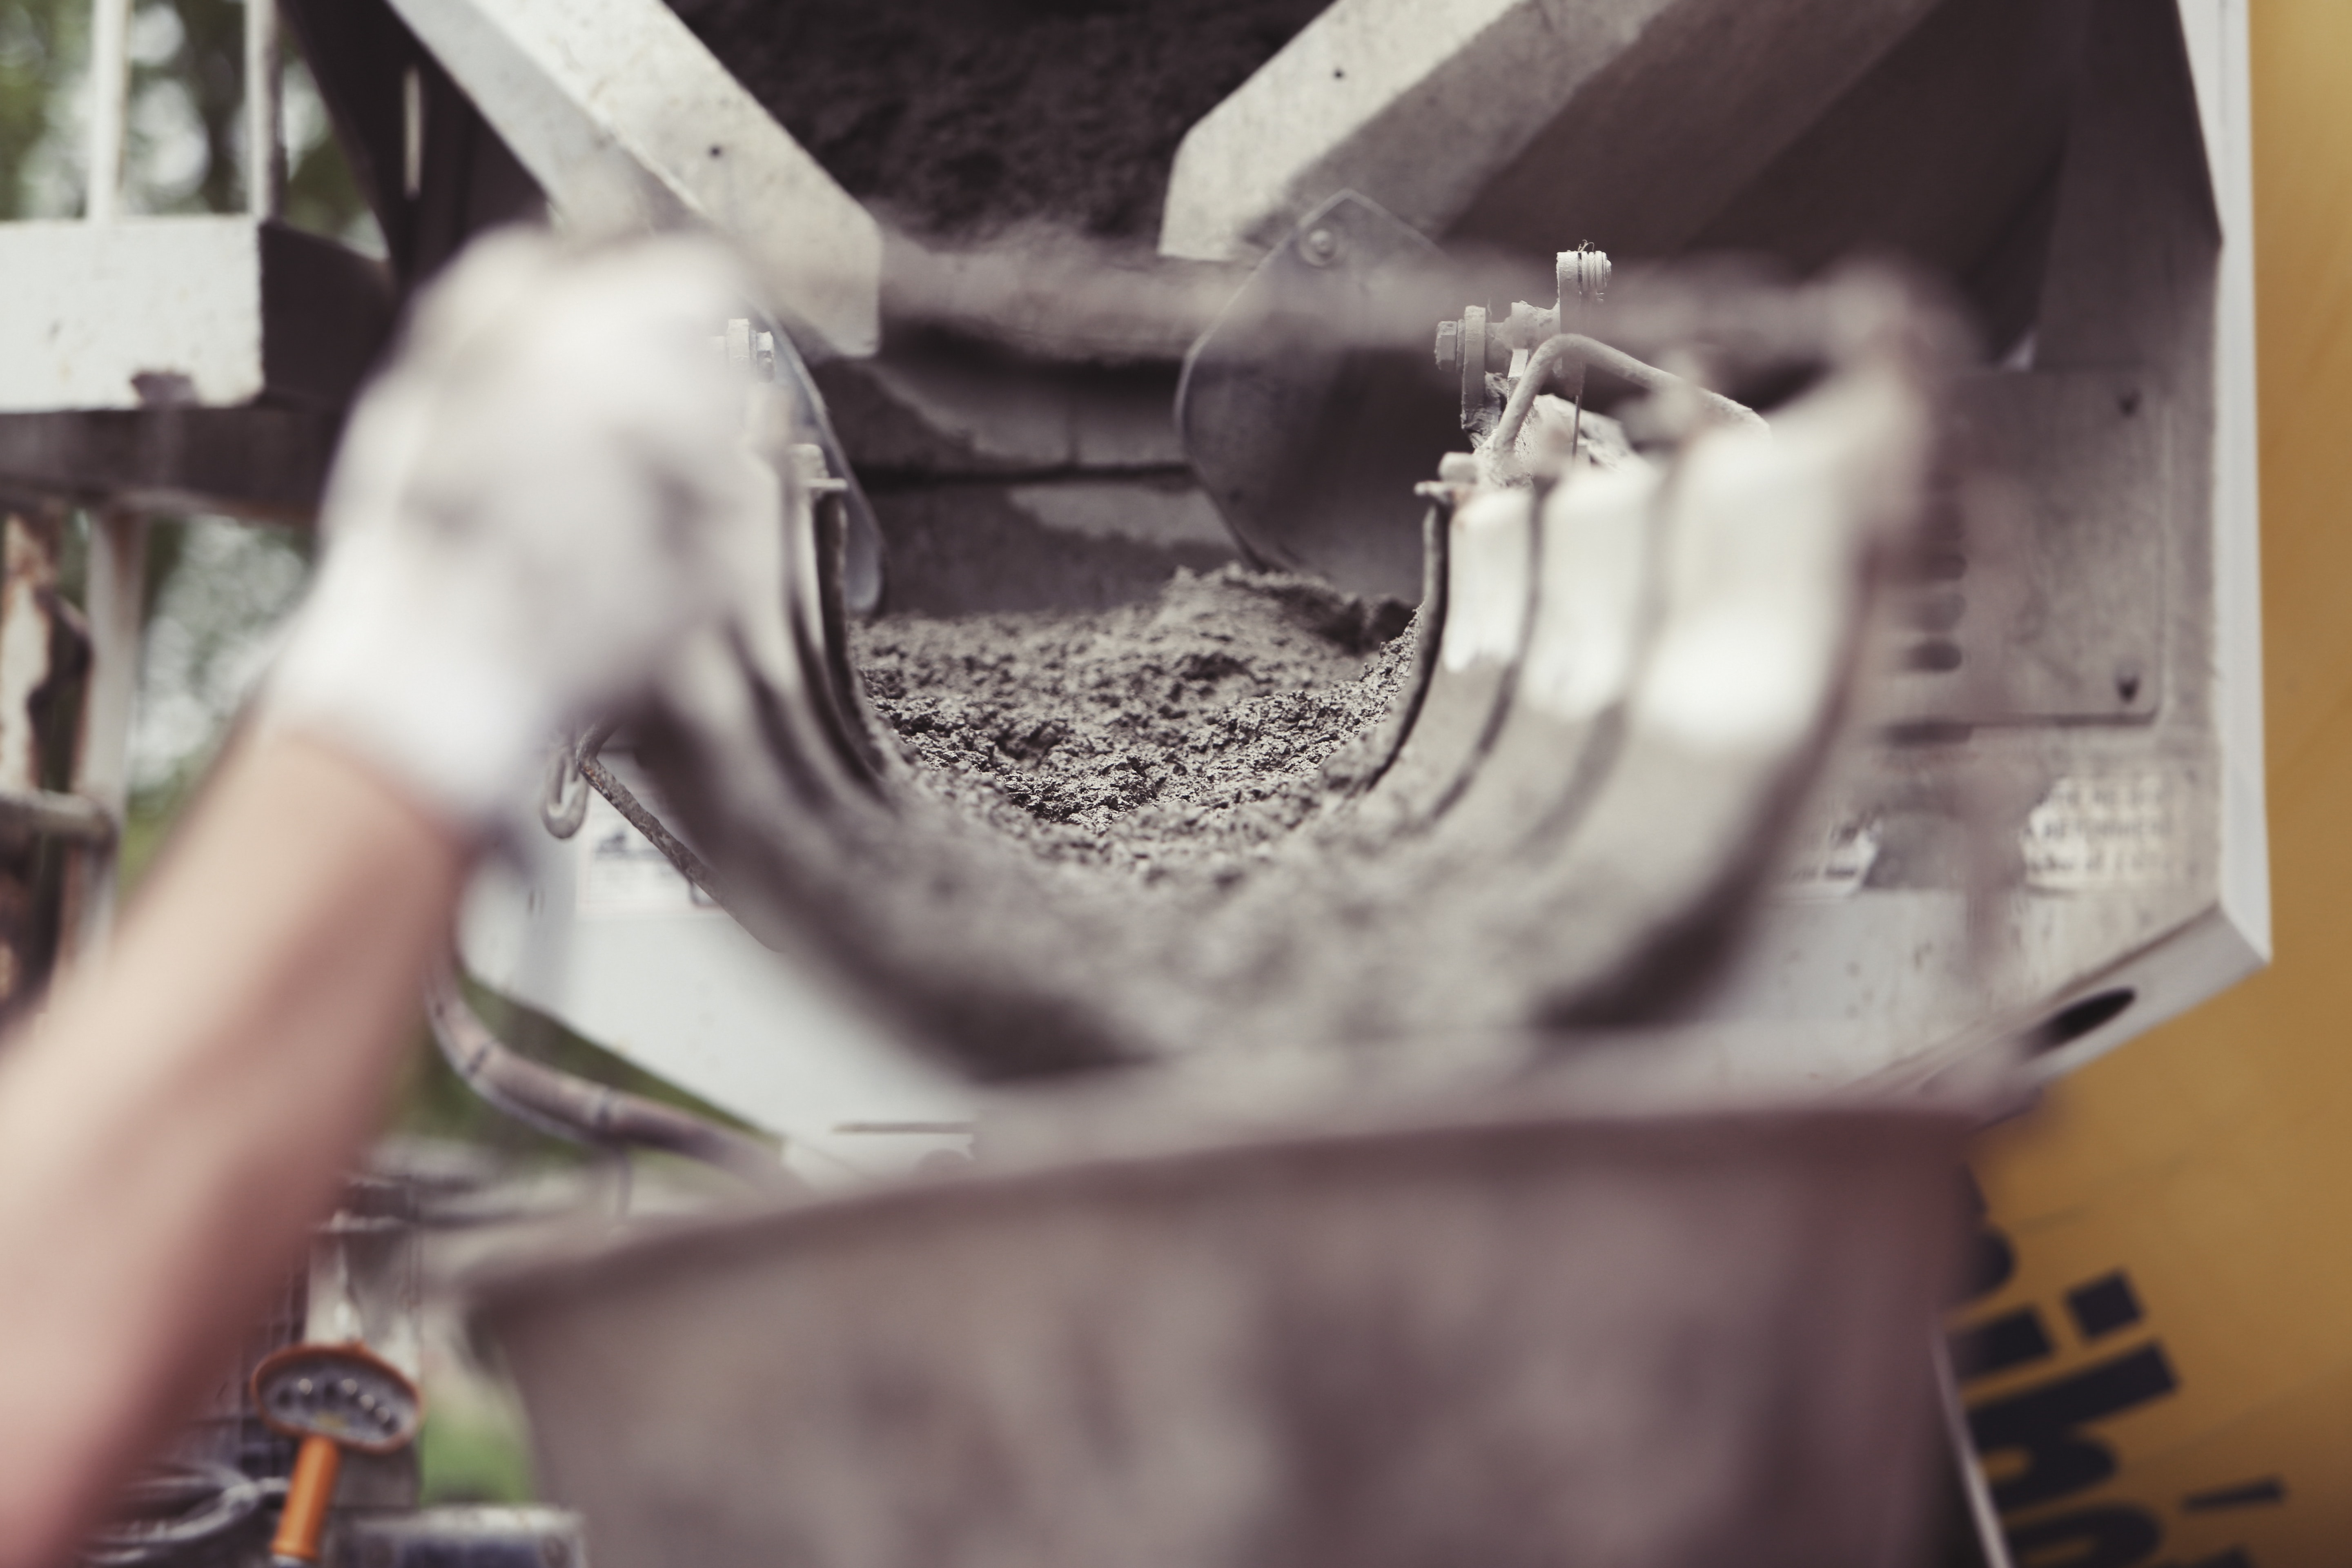
Concrete Pour
With all channels in final position, anchored with rebar and secured with screws or wire, concrete pads will be installed. Pads, set around the rebar, on and under the sides of the channel, will have a minimum 4-inch thickness and will be recessed to the correct depth below the slab. Vibration is applied to prevent any voids during the pour. Expansion joints are placed on each side of the channel. And coupling is used to connect drain pipes to the channel outlet.
Inspection
Construction covers are removed after a minimum 24-hour concrete set time. We’ll inspect the channels and piping, clearing any debris. Grating will be installed and secured with screws.
Getting Trench Drain Installation Right The First Time
Trench drain systems support water control and conservation and in industrial settings, help control chemical spills. While the installation process is straightforward, our team at Storee understands the importance of getting it right. The installation process needs to be in line with your project requirements, handling the flow rate, heavy loads and foot traffic on your site. And it must comply with building regulations and local safety ordinances.
Let us take the complexity out of installing trench drain systems. We’ll work with you to find the solution that fits your location. And we’ll help you choose the materials and a design that complements and works well in your environment. Contact us for more information.